How to use imito's calibration markers
Measure wounds in seconds and decrease the risk of infection with our digital measurement method. Step-by-step instructions and common mistakes are explained below.


Several research papers compared imito to the usual wound measurement methods


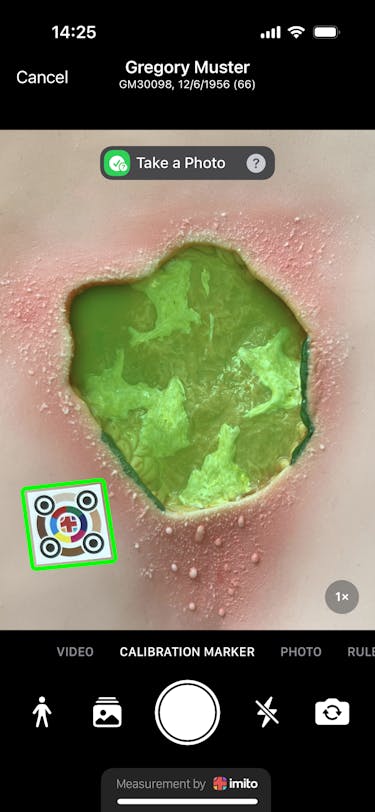
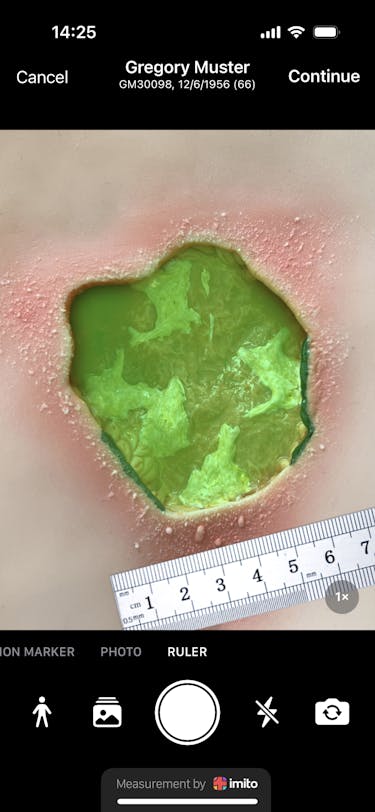
Our app uses the 'calibration marker mode' as the default. In this mode, both the marker and the wound typically appear immediately in green. That's the sign for you to tap the white capture button and take a photo.
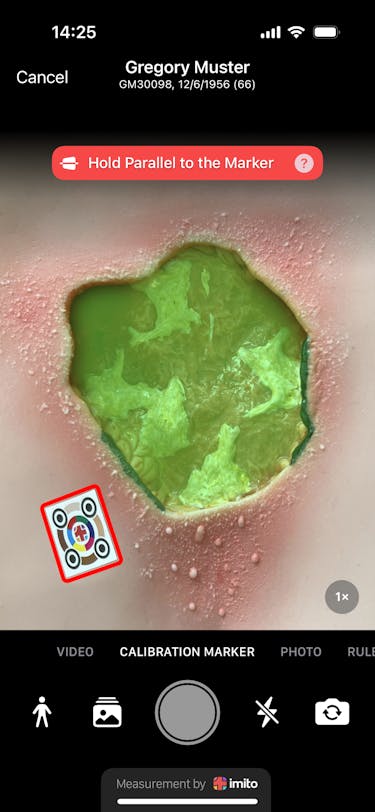
If you get a red error message, please adjust the smartphone camera to be more parallel to the wound surface. The distance from the wound should be between 10 and 30 cm.
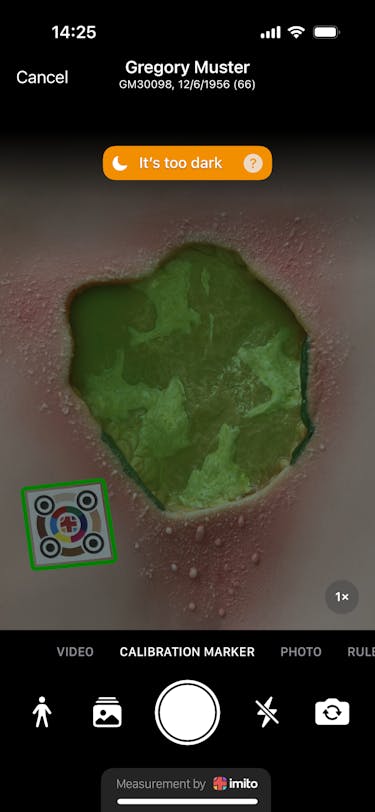
If you get an orange error message, add some extra light to ensure the entire wound is clearly visible.
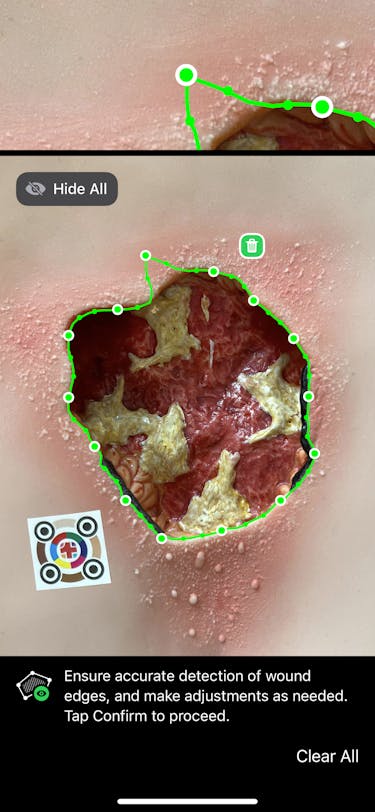
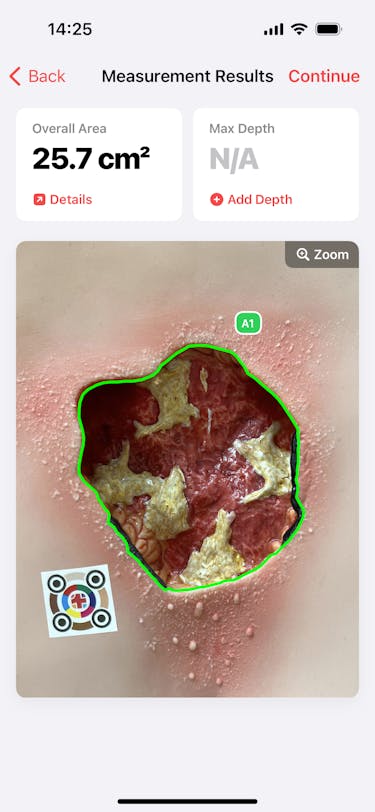
Zoom in on the wound to refine the area if needed. Each green dot can be adjusted to make the wound edges more accurate. Once everything is set, click on 'Confirm' in the upper right corner.
Yes! You can also manually add the depth of the wound in mm. Next, click 'Continue' at the top right to document further details about the wound.
Order your calibration markers today! In the meantime, use our 'ruler mode' to measure wounds and get a glimpse of imito's digital wound measurement, which is widely used in clinical practice and clinical research.
We use cookies to give you the best browsing experience possible.
Learn more about our privacy policy